This post is my take on displaying real-time post views using Firebase and React. This has previously been done by Guillermo Rauch on rauchg.com and Lee Robinson on leerob.io. Lee also explains how he did this in his blog.
So why should you read my post if they have already done so and even explained it? The reason being, both implementations require some sort of node environment to execute code while my post shows how you can achieve it on the client-side.
Another reason being, both websites are using Nextjs while mine is using Gatsbyjs and I couldn’t find anything related to it. So here we are.
Setup
Setting up Firebase
- Sign in to Firebase and go to console and create a new project. I’ll name mine react-gatsby-views. You can enable Google Analytics if you want and click on create project
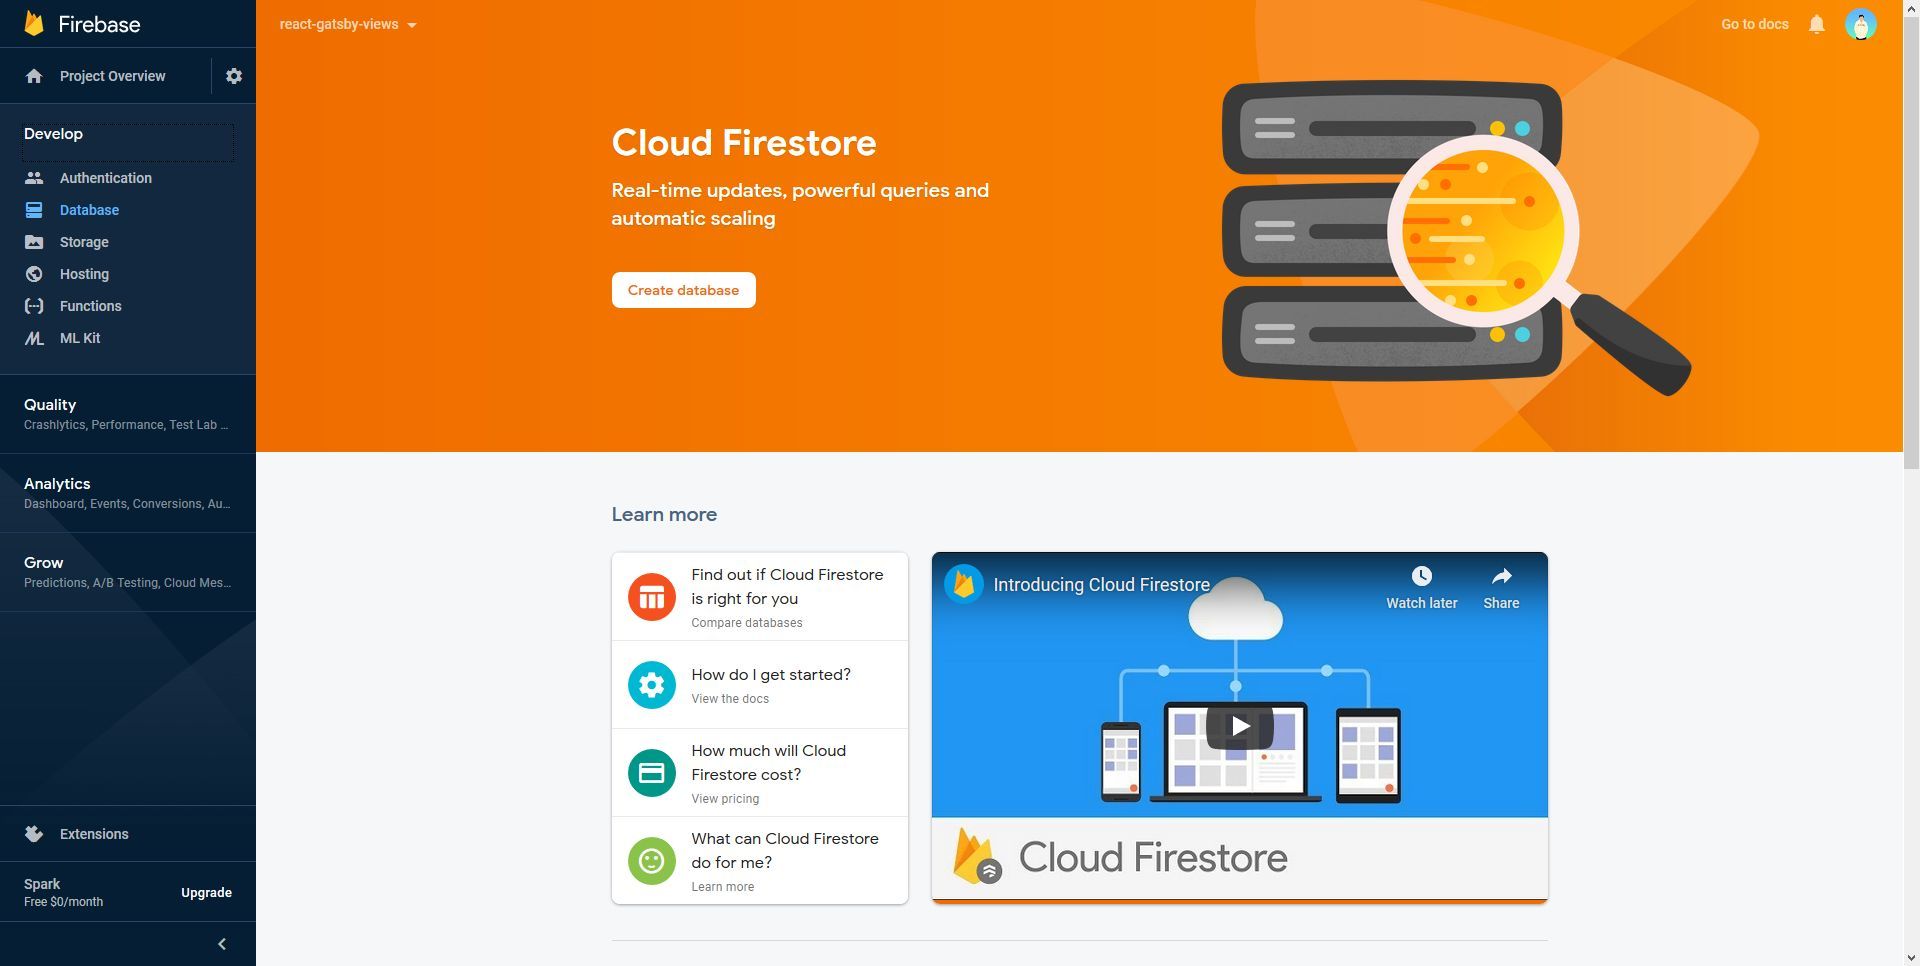
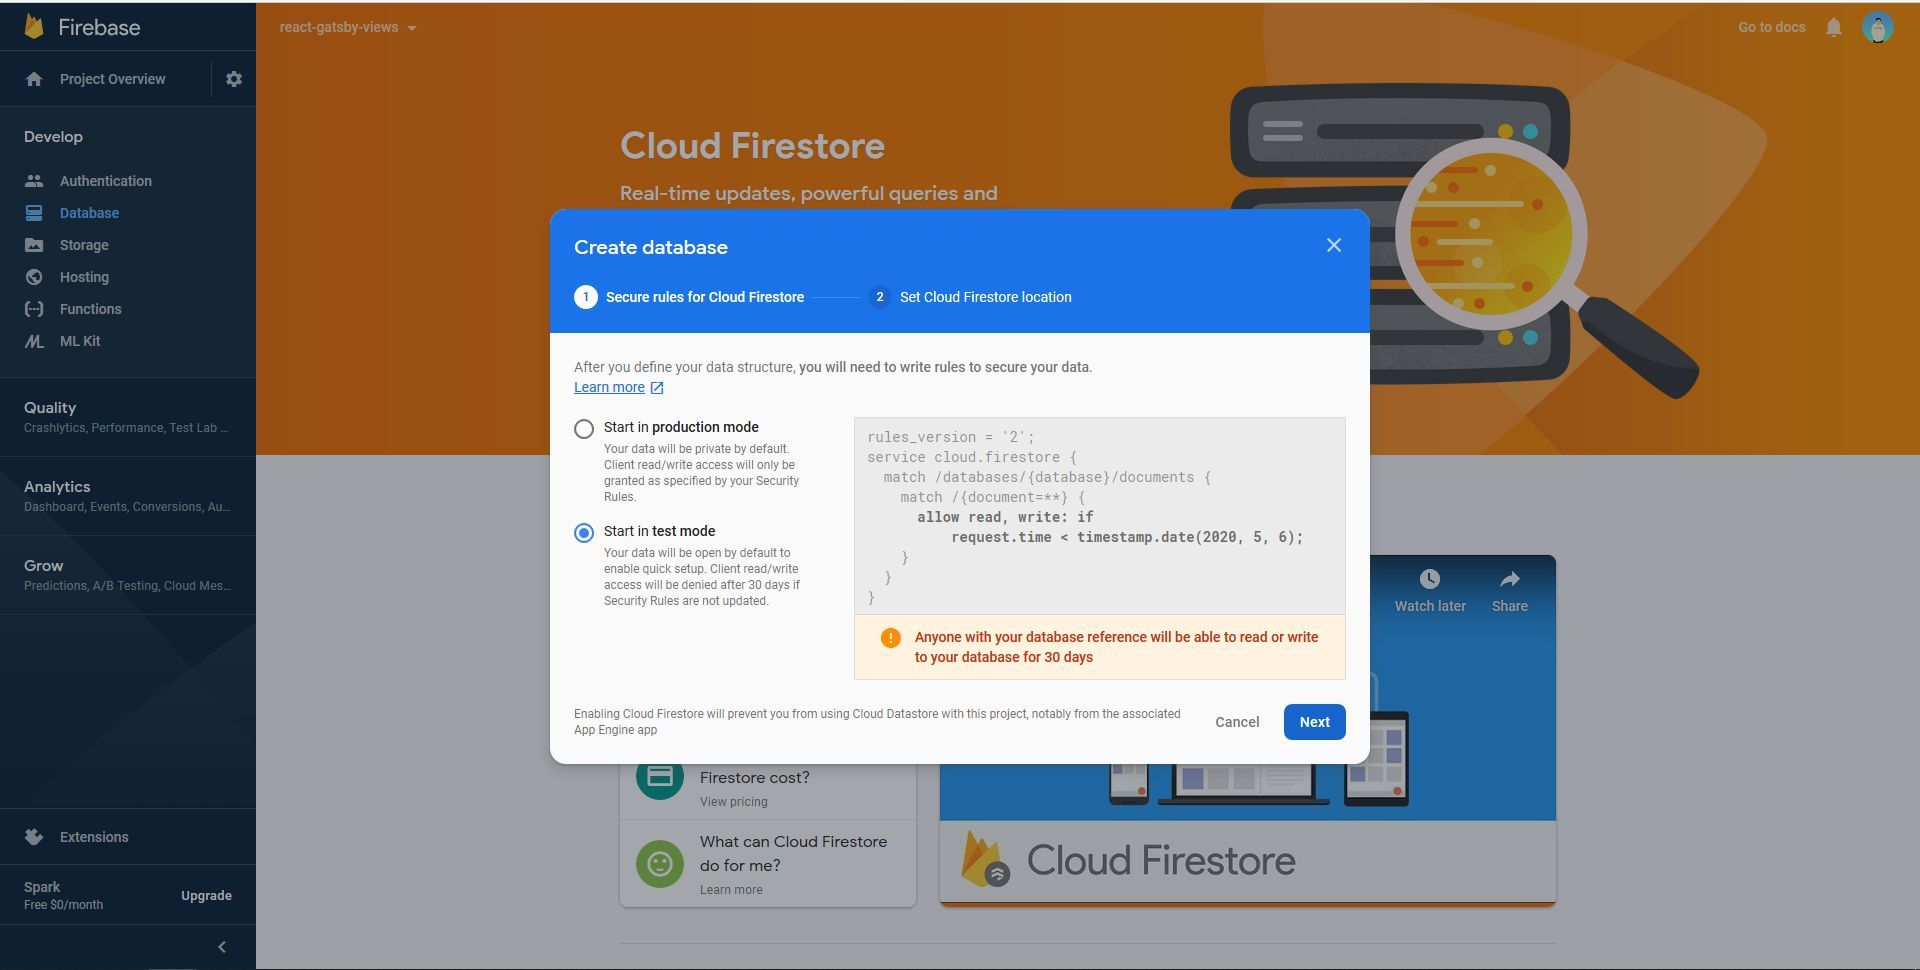
- Navigate to Develop -> Database and click on “Create Database”
- Choose “Start in Test Mode”
- Choose your location and click on “Done”
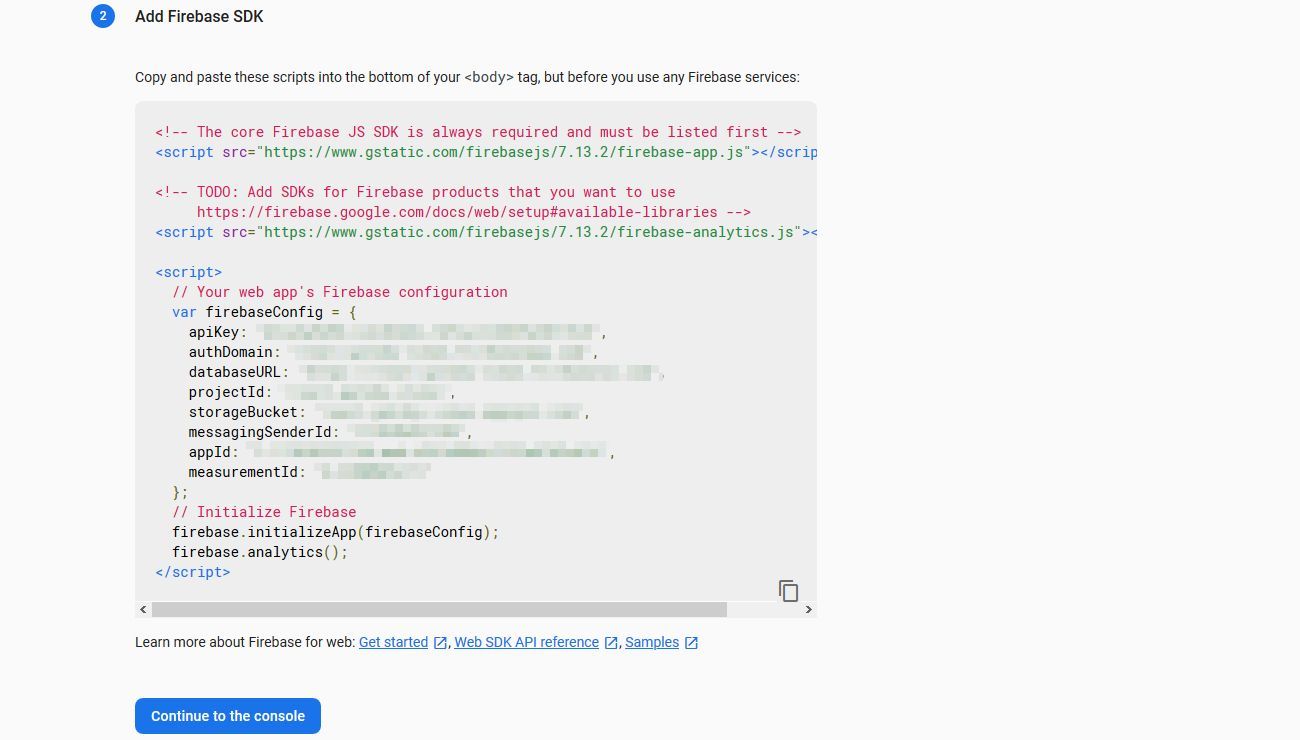
- Click on “Project Settings”.

- Click on web icon to create a “Web App”
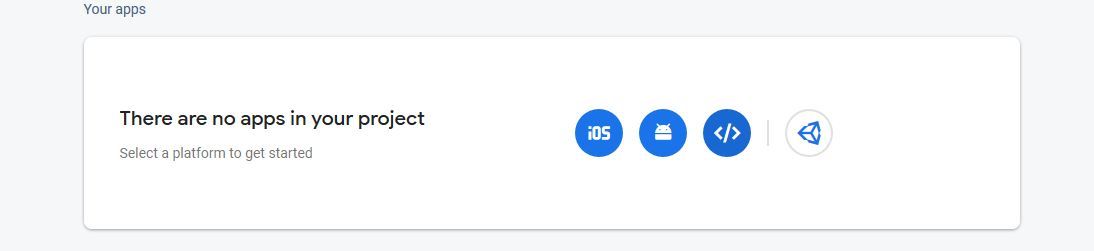
- Enter your name. I’ll name mine react-gatsby-views-app. Do not enable Firebase hosting and click on “Register app”

- Click on “Continue to console” as we’ll need the config object later
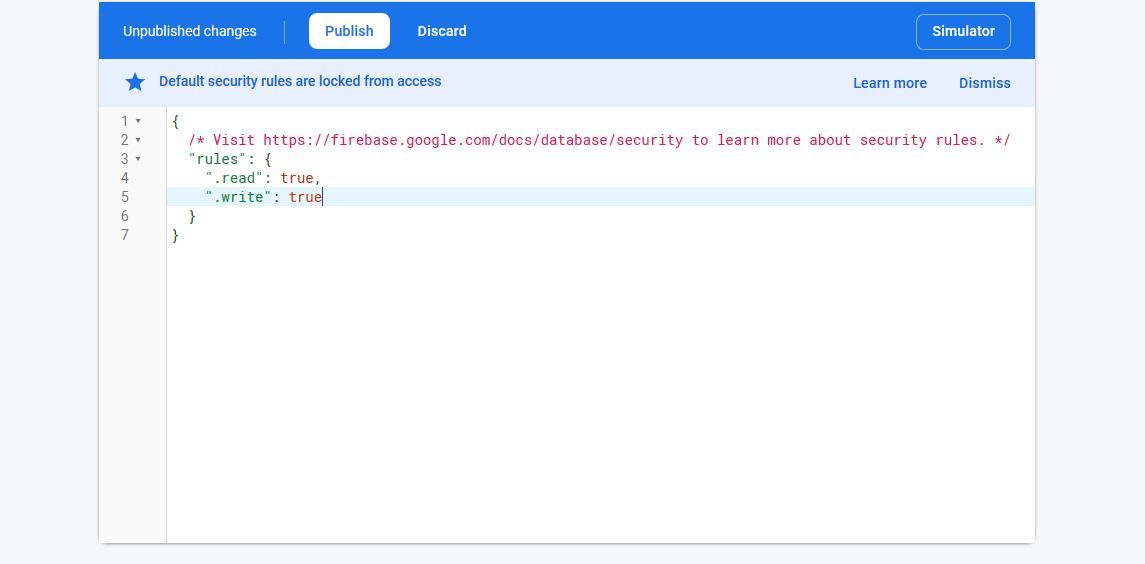
- Go to “Database” and select “Realtime Database”

- Go to “Rules” and set
read,writetotrueand click on “Publish” allowing us to update data without sigining in and using the config object
Setting up Gatsby
- Create a Gatsby project by typing
npx gatsby new enter_project_namein your terminal.
- Go inside the created directory and install gatsby-firebase-plugin and firebase by typing
npm install firebase gatsby-plugin-firebasein your terminal.
- Register the Gatsby plugin by adding the below lines to your
gatsby-config.jsfile
module.exports = {
  plugins: [
    ...otherPlugins,

    {
      resolve: 'gatsby-plugin-firebase',
      options: {
        credentials: {
          apiKey: '<YOUR_FIREBASE_API_KEY>',
          authDomain: '<YOUR_FIREBASE_AUTH_DOMAIN>',
          databaseURL: '<YOUR_FIREBASE_DATABASE_URL>',
          projectId: '<YOUR_FIREBASE_PROJECT_ID>',
          storageBucket: '<YOUR_FIREBASE_STORAGE_BUCKET>',
          messagingSenderId: '<YOUR_FIREBASE_MESSAGING_SENDER_ID>',
          appId: '<YOUR_FIREBASE_APP_ID>',
        },
      },
    },
  ],
};
you can refer the documentation here.
- Since we are using Realtime Database, add
import "firebase/database"togatsby-browser.jsandgatsby-ssr.jsfiles.
// gatsby-browser.js and gatsby-ssr.js
import 'firebase/database';
Integration
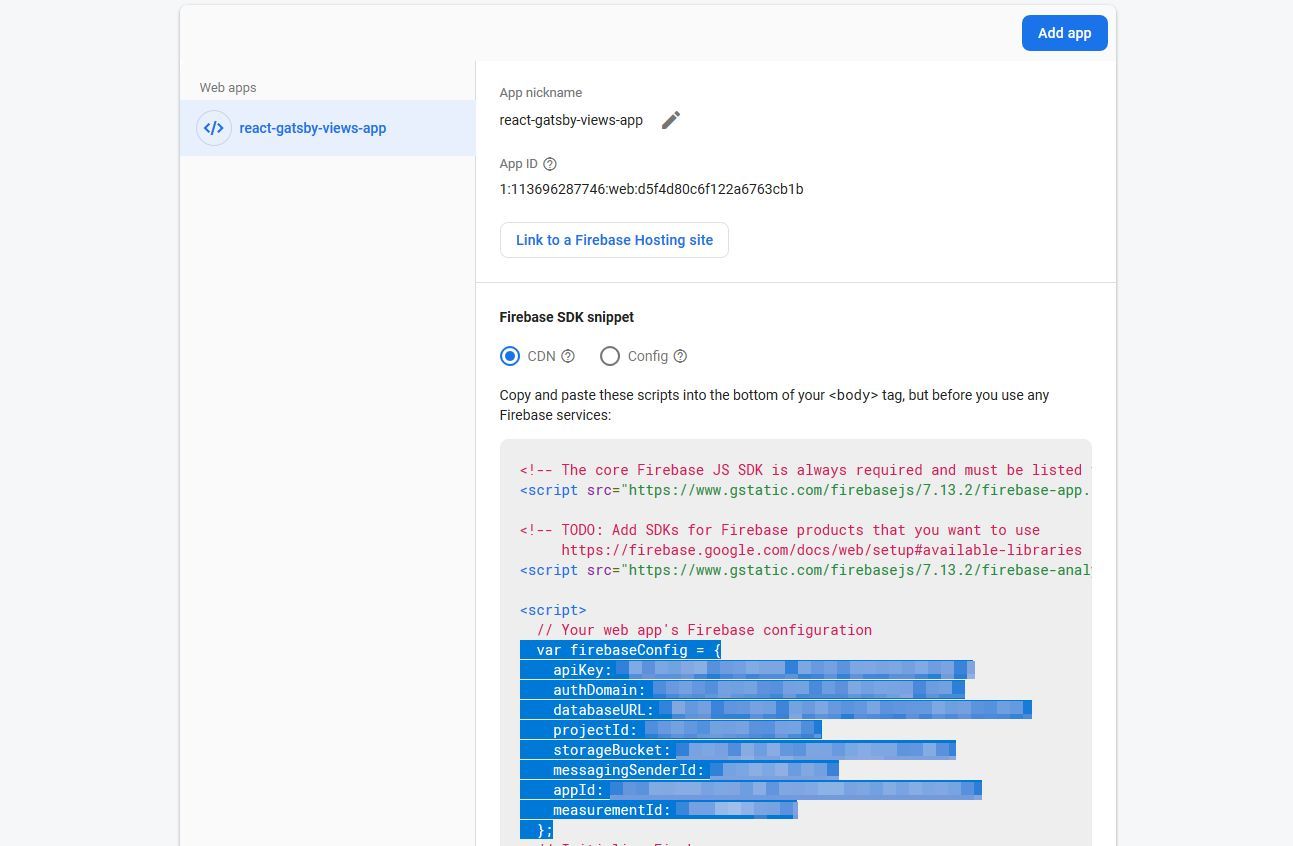
- Go to your Firebase console and select your web app.

- Scroll down to Your apps and and copy the
firebaseConfigobject.
- Create an
.envfile at the root of your project and paste the content like so
API_KEY='your_values_here'
AUTH_DOMAIN='your_values_here'
DATABASE_URL='your_values_here'
PROJECT_ID='your_values_here'
STORAGE_BUCKET='your_values_here'
MESSAGING_SENDER_ID='your_values_here'
APP_ID='your_values_here'
MEASUREMENT_ID='your_values_here'- Edit the
gatsby-config.jsfile to consume the environment variables
{
    resolve: 'gatsby-plugin-firebase',
    options: {
    credentials: {
        apiKey: process.env.API_KEY,
        authDomain: process.env.AUTH_DOMAIN,
        databaseURL: process.env.DATABASE_URL,
        projectId: process.env.PROJECT_ID,
        storageBucket: process.env.STORAGE_BUCKET,
        messagingSenderId: process.env.MESSAGING_SENDER_ID,
        appId: process.env.APP_ID,
    },
    },
},- Install env-cmd as a dev dependency to use the environment variables by typing
npm i -D env-cmd - Modify “develop” command in
package.jsonto
env-cmd -f .env gatsby develop- Add the below code to
gatsby-config.js
require("dotenv").config({
  path: `.env.${process.env.NODE_ENV}`,
})
module.exports = {
  ...
}
Implementation
- Go to
src/pages/and remove the unnecessary content with a simple one
// index.js
import React from 'react';
import ViewCounter from '../components/ViewCounter';

const Index = () => (
  <div>
    <ViewCounter id='index' />
  </div>
);

export default Index;- Don’t worry if you get an error

we’ll create the ViewCounter component in just a minute.
- Create directory
libundersrcand a file namedincrement-views.jsin it. It should look like this
src
 |-lib
|-increment-views.js- Copy the below code into the file
// increment-views.js
import firebase from 'gatsby-plugin-firebase';
const incrementViews = async id => {
const ref = firebase.database().ref(`/views`).child(id);
ref.transaction(currentViews => {
return currentViews + 1;
});
};
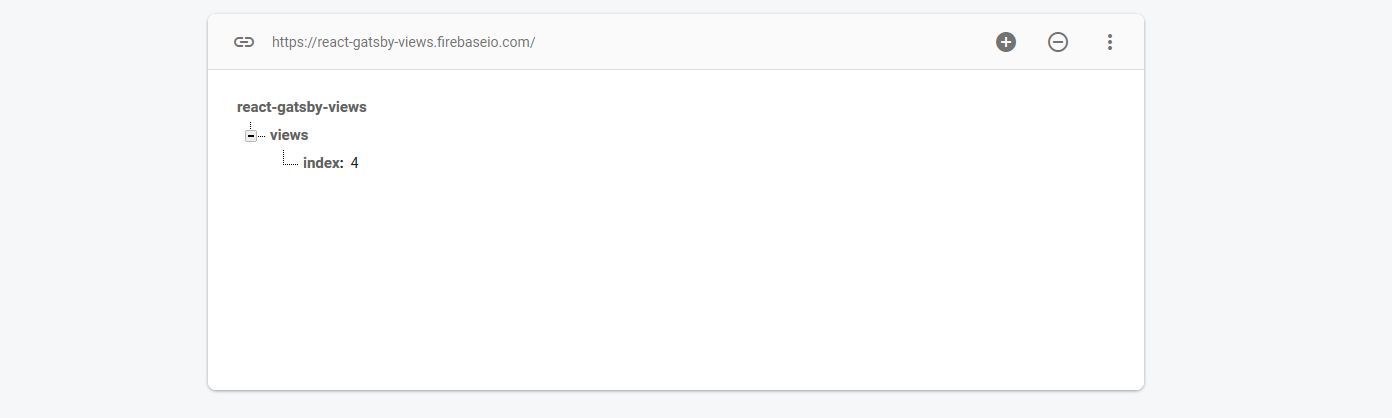
export default incrementViews;This basically creates a reference of database at /views and creates an entry of id under views. Different ids will create additional entries and will update the view whenever the function is called.
ref.transaction() is used to modify the data at the location. In our case views of id are incremented.
- Create a file
ViewCounter.jsundersrc/components/and copy the below code
// ViewCounter.js
import React, { useEffect, useState } from 'react';
import firebase from 'gatsby-plugin-firebase';
import incrementViews from '../lib/increment-views';

const ViewCounter = ({ id }) => {
  const [viewCount, setViewCount] = useState('');

  useEffect(() => {
    // 1 is displayed for a split second and then the correct count
    // This is a workaround
    const onViews = newViews => {
      setViewCount(newViews.val() === 1 ? 0 : newViews.val());
    };

    incrementViews(id);

    firebase.database().ref(`/views`).child(id).on(`value`, onViews);

    return () => {
      if (firebase.database()) {
        firebase.database().ref(`/views`).child(id).off(`value`, onViews);
      }
    };
  }, [id]);

  return (
    <div style={{ color: '#7e7e7e' }}>
      {viewCount ? viewCount : `---`} views
    </div>
  );
};

export default ViewCounter;
On loading this component, id is sent to increment-views to increment the value and the returned value is stored in viewCount.
Upon completion, if an instance of database exists, detach it using off()
- Now everytime you refresh the page or anyone visits it, view count will be incremented.
App Views

Firebase Views
Deployment
Since I have deployed my site on Vercel, it uses now secrets. Each host provider has a different mechanism to handle environment variables.
I hope you’ve liked this post. Any suggestions, improvements are welcome.